Mastering the Art of How to Repair Double Hung Sash Windows: A Step-by-Step Guide
Repairing double hung sash windows can seem challenging, but with the right knowledge and tools, it can be a rewarding project. This guide will help you understand the parts of these windows, the common problems they face, and how to fix them step-by-step. By learning how to repair double hung sash windows, you can save money and preserve the charm of your home.
Key Takeaways
- Double hung sash windows have several parts that work together, including the upper and lower sashes.
- Common issues include stuck sashes, broken cords, and peeling paint.
- Repairing these windows is often more cost-effective than replacing them entirely.
- Essential tools include a putty knife, safety glasses, and a utility knife for safe disassembly.
- Regular maintenance can prevent future problems and keep your windows functioning well.
Understanding Double Hung Sash Windows

Double hung sash windows are a popular choice in many homes due to their classic design and functionality. These windows consist of two movable sashes that slide vertically within the frame, allowing for better ventilation and ease of cleaning. Understanding their components and common issues is essential for effective repairs.
Components of Double Hung Sash Windows
A double hung sash window typically includes:
- Lower sash: The bottom part that can be opened.
- Upper sash: The top part that can also be opened.
- Sash cords: These are used to balance the sashes.
- Weights: Located inside the frame, they counterbalance the sashes.
- Stops: Wooden pieces that hold the sashes in place.
Common Issues with Sash Windows
Some common problems that homeowners face with double hung sash windows include:
- Sticking sashes: Often caused by paint buildup or warped frames.
- Broken sash cords: This can prevent the sashes from operating smoothly.
- Drafts: Gaps in the window frame can lead to energy loss.
Benefits of Repairing Over Replacing
Repairing double hung sash windows can be more beneficial than replacing them for several reasons:
- Cost-effective: Repairs are usually less expensive than full replacements.
- Preservation of character: Maintaining original windows helps keep the historical integrity of a home.
- Energy efficiency: Properly repaired windows can improve insulation and reduce energy bills.
Repairing your double hung sash windows not only saves money but also enhances the beauty and efficiency of your home.
For those looking to enhance their window security, consider products like the wrs truth left hand entrygard casement sash lock - bronze. This lock is designed for specific window types and can significantly improve security and energy efficiency.
Essential Tools and Materials for Repair
Must-Have Tools for Window Repair
To successfully repair double hung sash windows, you will need the right tools. Here’s a list of essential tools:
- Screwdrivers: Both flathead and Phillips for removing screws.
- Pliers: Useful for gripping and twisting.
- Putty Knife: For scraping old paint and putty.
- Carpenter’s Square: To ensure everything is aligned properly.
Choosing the Right Materials
Selecting the right materials is crucial for a lasting repair. Here are some materials you might need:
- Wood Epoxy: For filling in damaged areas.
- Glazing Putty: To secure glass panes in place.
- Weatherstripping: To improve insulation and prevent drafts.
| Material | Purpose |
|---|---|
| Wood Epoxy | Fills damaged wood |
| Glazing Putty | Secures glass panes |
| Weatherstripping | Prevents drafts and improves insulation |
Safety Equipment and Precautions
Safety should always come first. Here are some safety items to have:
- Gloves: Protect your hands from sharp edges.
- Dust Mask: Prevent inhaling dust and particles.
- First Aid Kit: Always keep it nearby for minor injuries.
Having the right tools and materials ready can make your repair process smoother and more efficient. Preparation is key!
By gathering these tools and materials, you’ll be well-equipped to tackle your window repair project with confidence!
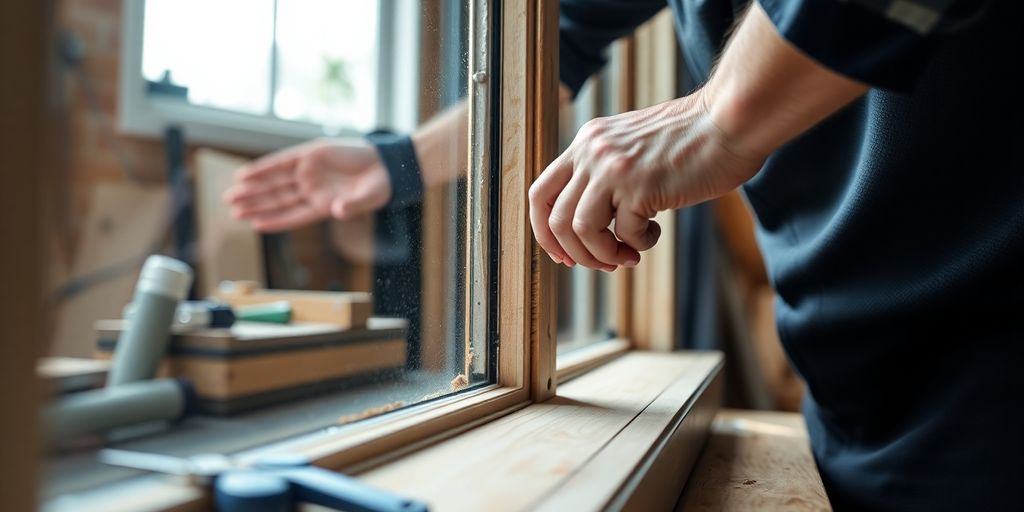
Step-by-Step Guide to Removing the Sash
Preparing the Window for Removal
Before you start, make sure you have a clean workspace. Removing the sash can be tricky, so take your time. Here are the steps to prepare:
- Clear the area around the window to avoid any accidents.
- Use a utility knife to cut through any paint or caulk around the window stops.
- Gather your tools, including a putty knife and a flat screwdriver.
Safely Detaching the Sash
To detach the sash safely, follow these steps:
- Remove the interior stop by carefully prying it away from the frame. Be gentle to avoid damage, as you will need to reinstall it later.
- Once the stop is out, pull out the lower sash. If it’s painted shut, you may need to pry it open.
- Cut the sash cords with tin snips while keeping tension to prevent recoil. Set the lower sash aside.
Handling and Storing Removed Sashes
After removing the sashes, it’s important to handle them properly:
- Inspect the sashes for any damage before storing them.
- Store the sashes in a safe place where they won’t get scratched or damaged.
- Label each sash and its components to make reinstallation easier later.
Remember, old windows were built to be easily disassembled. Knowing how they were made can help you during the removal process. Take care when removing the sash to avoid breaking any parts.
Repairing and Restoring the Sash
Inspecting and Cleaning the Sash
To start, you need to carefully inspect the sash for any damage. Look for cracks, rot, or loose parts. Once you’ve identified the issues, clean the sash thoroughly to remove dust and debris. This will help you see the damage better and prepare the surface for repairs. Here are the steps to follow:
- Remove any old paint or glazing.
- Use a putty knife to scrape away debris.
- Clean the sash with a damp cloth.
Fixing Common Sash Problems
After cleaning, it’s time to fix the problems. For minor cracks, you can use a two-part epoxy like LiquidWood to fill in the gaps. Here’s how:
- Apply the epoxy to the damaged area.
- Wait for it to penetrate the wood.
- Once dry, sand it smooth.
For more severe damage, you may need to replace parts of the sash. Make sure to use high-quality materials, such as the wrs kinco 1-1/2" sash cam, which is essential for proper function.
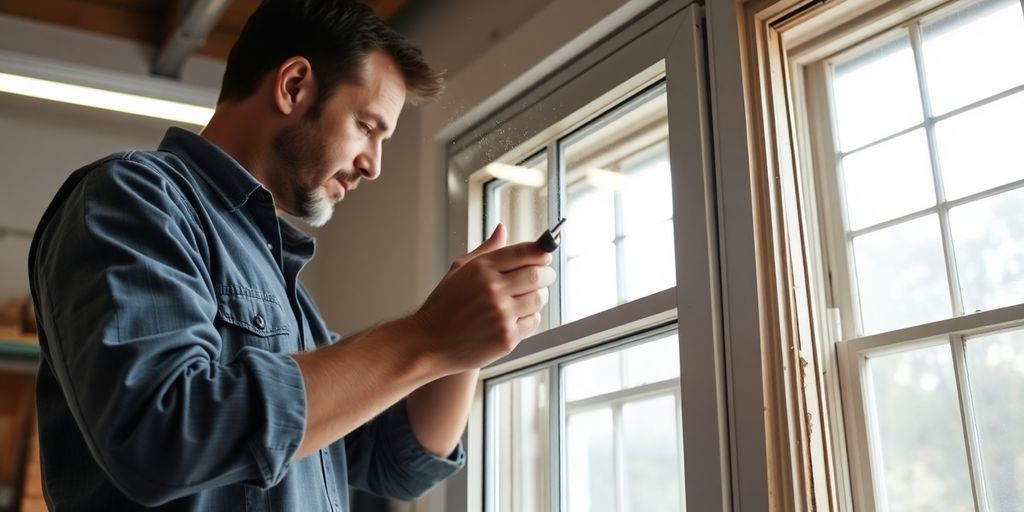
Repainting and Finishing Touches
Once repairs are complete, it’s time to repaint the sash. Use an oil-based primer to protect the wood. After priming, apply a couple of coats of paint for a fresh look. Remember to:
- Allow each coat to dry completely.
- Use a brush for smooth application.
- Check for any missed spots before finishing.
Restoring your sash can extend its life significantly. Taking the time to do it right will save you money in the long run and keep your windows looking great!
Reinstalling the Sash and Ensuring Proper Function
Reassembling the Window Components
After you’ve completed the repairs, it’s time to put everything back together. Follow these steps:
- Reattach the sash cords to the window sash.
- Carefully place the upper sash back into the frame.
- Repeat the process for the lower sash.
- Finally, reattach the interior trim to complete the installation.
Testing the Sash Operation
Once the sashes are in place, it’s crucial to test their operation:
- Open and close each sash to ensure they move smoothly.
- Check for any misalignment that might cause sticking.
- Make sure the sashes lock securely when closed.
Final Adjustments and Maintenance Tips
To keep your windows functioning well, consider these maintenance tips:
- Regularly inspect the springs for wear and tear.
- Clean the window tracks to prevent debris buildup.
- Lubricate moving parts with a silicone spray to reduce noise and improve movement.
Regular maintenance of your window springs can prevent future issues and ensure smooth operation. Taking the time to repair now can save you money later.
For those using specific parts, like the wrs kinco 1-1/2" sash cam, ensure they are installed correctly to maintain functionality. This small component plays a significant role in the overall operation of your double hung sash windows.
Troubleshooting and Maintenance Tips
Dealing with Stubborn Sashes
If your window sashes are difficult to open or close, it may be due to several common issues. Here are some things to check:
- Broken Springs: This is a major issue that can stop the window from moving.
- Misalignment: If the window isn’t sitting right, it could be a spring problem.
- Excessive Noise: Sounds like squeaking can mean the springs need some oil.
Preventing Future Issues
To keep your windows in good shape, follow these maintenance tips:
- Regularly check the springs for wear and tear.
- Keep the window tracks clean and free of debris.
- Use quality parts like the wrs gallatin/gapco sash cam to ensure smooth operation.
Regular Maintenance Practices
Taking care of your windows can save you money and hassle later. Here are some practices to adopt:
- Inspect the springs often to catch problems early.
- Lubricate the springs with silicone spray to keep them quiet and moving smoothly.
- Tighten any loose screws to prevent misalignment.
Regular maintenance can significantly enhance the lifespan and performance of your window springs. By addressing minor issues early, you can prevent costly repairs down the line.
Final Thoughts on Repairing Double Hung Sash Windows
In conclusion, fixing double hung sash windows can be a rewarding project that not only improves your home’s look but also helps save energy. By following the steps outlined in this guide, you can restore your windows to their former glory. Remember, patience is key! Take your time with each step, and don’t rush the process. With careful work, your windows will not only function better but also last for many years to come. So gather your tools, get started, and enjoy the satisfaction of completing this home improvement task.
Frequently Asked Questions
What are double hung sash windows?
Double hung sash windows are windows that have two movable sections or sashes. Both the upper and lower sashes can be opened, allowing for better airflow in your home.
What common problems do double hung sash windows have?
Some common issues include difficulty opening or closing the sashes, drafts, and peeling paint. These problems can often be fixed with some repairs instead of replacing the entire window.
Why should I repair my windows instead of replacing them?
Repairing your windows can save you money and help maintain the character of your home. It's also better for the environment as it reduces waste.
What tools do I need to repair double hung sash windows?
You'll need basic tools like a putty knife, utility knife, sandpaper, and a paintbrush. Safety gear like gloves and goggles is also important.
How do I remove a sash from a double hung window?
To remove a sash, start by taking off the interior stop. Then, carefully detach the sash cords and pull out the sash. Make sure to label all parts to help with reassembly.
What should I do if my window won't open?
If your window is stuck, it might be painted shut or have a broken sash cord. You can try gently prying it open or using clamps to loosen it.